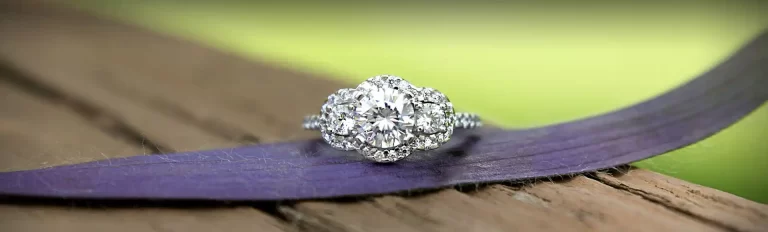
Crafting Elegance: A Journey into the Art of Ring Making Using the Lost Wax Method
Welcome to the captivating world of ring-making, where creativity and craftsmanship merge to create timeless treasures. In this guide, we’ll explore the intricate process of crafting a ring using the lost wax method. From the initial concept to the final product, we’ll take you on a fascinating journey by bringing a ring design to life. So, grab your imagination, and let’s dive into the magical realm of ring-making!
Step 1: Designing the Concept
Every masterpiece begins with a vision. Before we embark on the physical creation of the ring, we need to shape our ideas and give them form. Follow these steps to design the concept:
- Find inspiration: Seek inspiration from various sources such as nature, art, or personal experiences. Explore different styles, materials, and gemstones to spark your creativity.
- Sketch your vision: Grab a pencil and sketch your concept on paper. Let your imagination flow, capturing the ring’s shape, details, and overall aesthetic. Don’t worry about perfection at this stage; it’s all about bringing your idea to life.
Step 2: Creating a Wax Model
Once your concept is solidified on paper, it’s time to transform it into a tangible wax model. This step allows you to refine the design and bring it one step closer to reality:
- Gather your materials: Acquire a block of jeweler’s wax and necessary tools such as wax carving tools, files, and sandpaper.
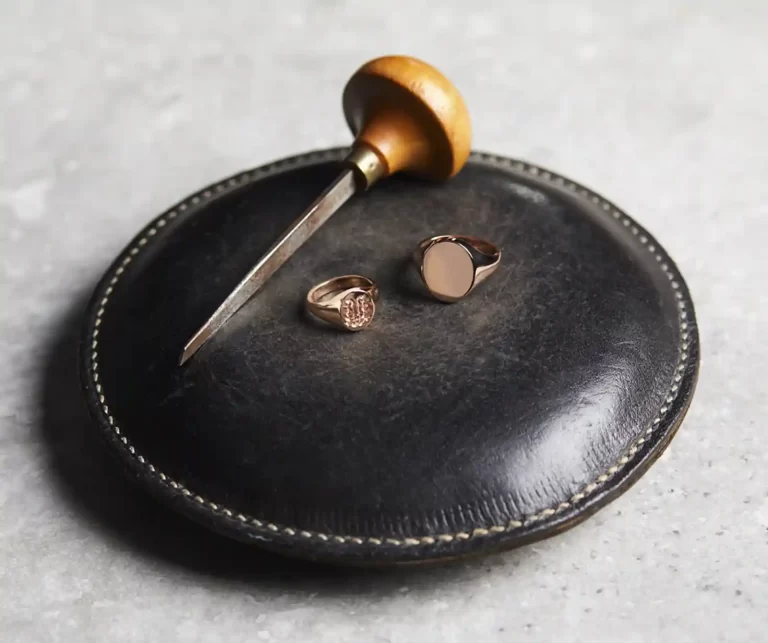
- Carve the wax: Using your sketch as a guide, carefully carve the wax block, shaping it into the desired form of the ring. Pay attention to intricate details, textures, and dimensions (screenshot).
- Refine the model: Smooth the surfaces, adjust proportions, and ensure the overall symmetry of the wax model. Take your time and refine the design until it matches your initial vision.
Step 3: Creating the Investment Mold
The wax model is now ready to undergo the lost wax casting process. To achieve this, we need to create an investment mold, which will capture the intricate details of the wax and serve as a mold for the metal:
- Prepare the flask: Select a flask of suitable size and clean it thoroughly. Make sure it’s dry and free from any debris.
- Mix the investment material: Follow the manufacturer’s instructions to mix the investment material, typically a plaster-like substance, with water. Ensure a smooth and consistent texture.
- Casting the metal: Carefully pour the molten metal into the investment mold. Allow it to cool and solidify, taking the shape of the cavity left by the wax. This step requires precision and expertise to achieve a successful casting.
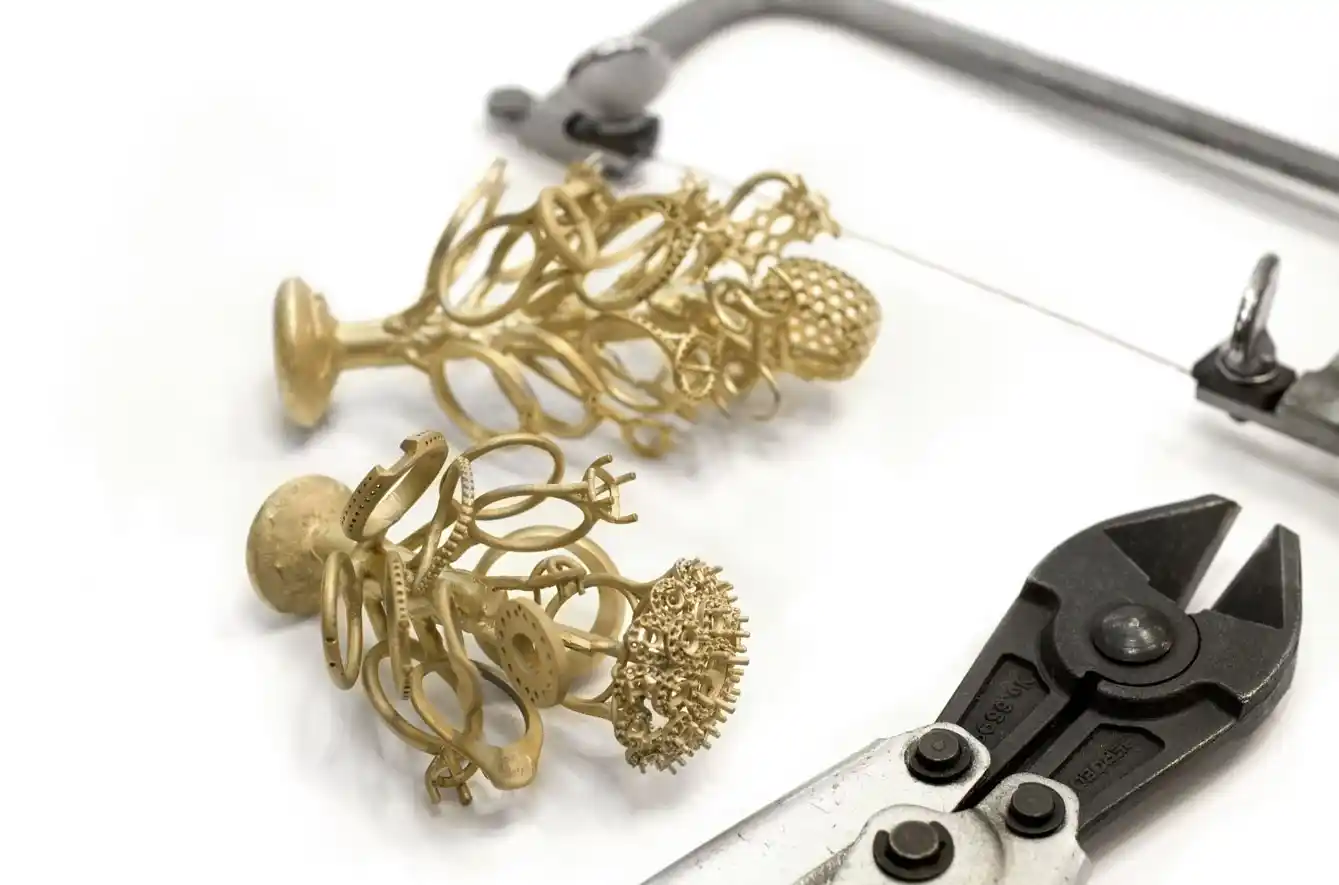
Step 4: Burnout and Casting
With the investment mold prepared, we can now proceed to the crucial step of burnout and casting, where the wax is replaced with the desired metal:
- Burnout process: Place the flask in a kiln or furnace specifically designed for burnout. Gradually increase the temperature to remove the wax entirely, leaving a cavity within the mold that matches the shape of the ring.
- Melting the metal: Choose the metal of your choice, such as gold or silver, and melt it in a crucible using a torch or specialized equipment. Ensure the metal is molten and at the right temperature for casting.
- Casting the metal: Carefully pour the molten metal into the investment mold. Allow it to cool and solidify, taking the shape of the cavity left by the wax. This step requires precision and expertise to achieve a successful casting.
Step 5: Finishing Touches
Now that the ring has taken shape, it’s time to add the finishing touches that enhance its beauty and durability:
- Removing the investment mold: Once the metal has cooled and solidified, remove it by carefully breaking it away. This reveals the raw casted ring.
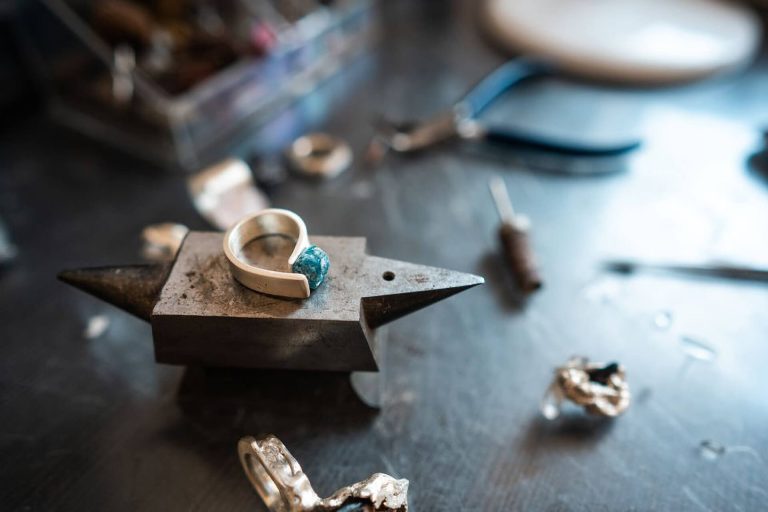
- Cleaning and polishing: Clean the ring using specialized tools to remove any residue or impurities. Proceed with polishing to achieve a smooth and shiny surface. This step brings out the true brilliance of the metal (screenshot).
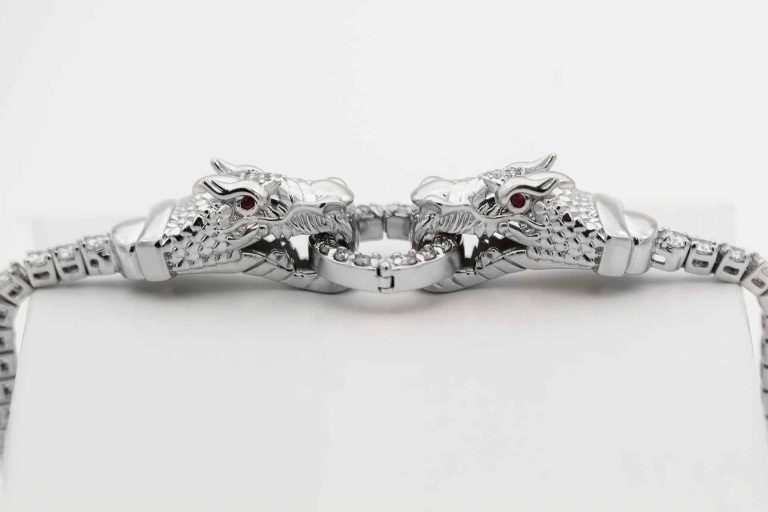
- Setting gemstones (optional): If your design includes gemstones, consult a skilled gem setter to set them within the ring securely. This adds an extra touch of elegance and sparkle to the final piece.
Conclusion:
Congratulations on completing your journey into the beautiful art of ring-making! Following these steps, you have unlocked the secrets behind crafting a ring using the lost wax method. From conceptualizing the design to the detailed casting and finishing touches, you have witnessed the transformation of an idea into a tangible work of art. Now, cherish or share your creation with others, knowing you possess a unique piece that encapsulates craftsmanship and beauty.
Creative approach to every project
- Nulla at volutpat diam
- Duis ut diam quam nulla
- Rhoncus aenean vel
At vero eos et accusamus et iusto odio dignissimos ducimus qui blanditiis praesentium voluptatum deleniti atque corrupti quos dolores et quas molestias excepturi sint occaecati cupiditate non provident, similique sunt in culpa qui officia deserunt mollitia animi, id est laborum et dolorum fuga. Et harum quidem rerum facilis est et expedita distinctio. Nam libero tempore, cum soluta nobis est eligendi optio cumque nihil impedit quo minus id quod maxime placeat facere possimus, omnis voluptas assumenda est, omnis dolor repellendus.
Bibendum est ultricies integer quis. Risus quis varius quam quisque id diam vel. Lorem mollis aliquam ut porttitor leo a diam sollicitudin. At tempor commodo ullamcorper a. Faucibus scelerisque eleifend donec pretium vulputate sapien nec. Aliquet bibendum enim facilisis gravida neque convallis. In hendrerit gravida rutrum quisque.