From Concept to Reality: Creating Stunning Jewelry with CAD and 3D Printing
Welcome to the fascinating realm of jewelry design and production! In this guide, we will explore the captivating process of crafting a piece of jewelry using Computer-Aided Design (CAD) software and bringing it to life through 3D printing. From concept to a tangible prototype, we will take you on an exhilarating journey through the steps involved in transforming your imagination into a stunning piece of wearable art. So, let your creativity shine, and let’s embark on this exciting adventure together!

Designing the Concept in CAD
The journey begins with your creative vision taking shape within the digital world of CAD software. Let’s dive into the first steps of bringing your jewelry design to life:
- Choose a CAD software: Select a professional CAD software that suits your needs and level of expertise. Popular options include Rhino 3D, Fusion 360, or SolidWorks.
- Start a new project: Launch the CAD software and create a new project or file to begin your jewelry design adventure.
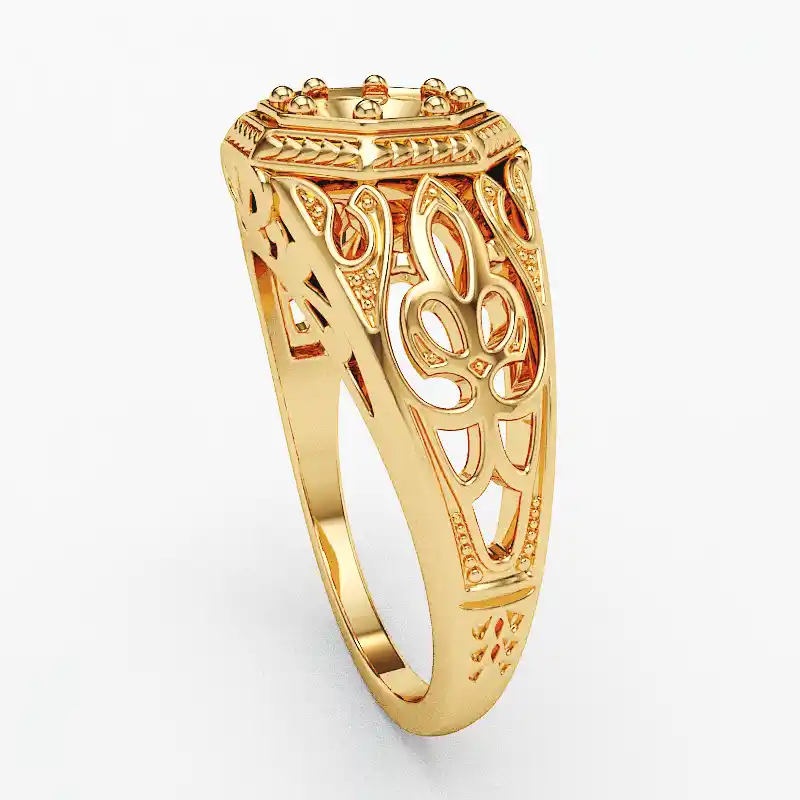
- Create the base shape: Utilize the software’s intuitive tools to sketch and create the primary form of your jewelry piece. Consider size, proportions, and overall aesthetics (screenshot).
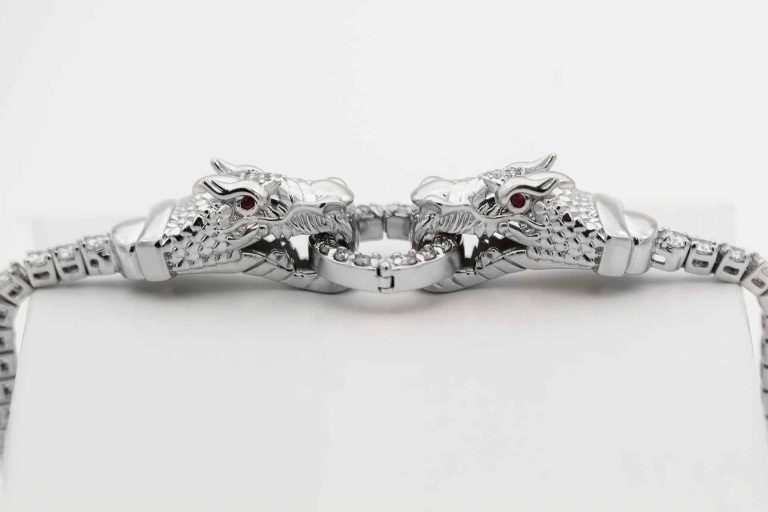
- Refine the design: Experiment with different design elements, such as intricate patterns, gemstone settings, or textures, to make your jewelry piece truly unique. Take advantage of the software’s editing tools to refine every detail.
Adding Details and Enhancements
With the foundation of your jewelry design in place, it’s time to add intricate details and enhancements that will elevate its allure:
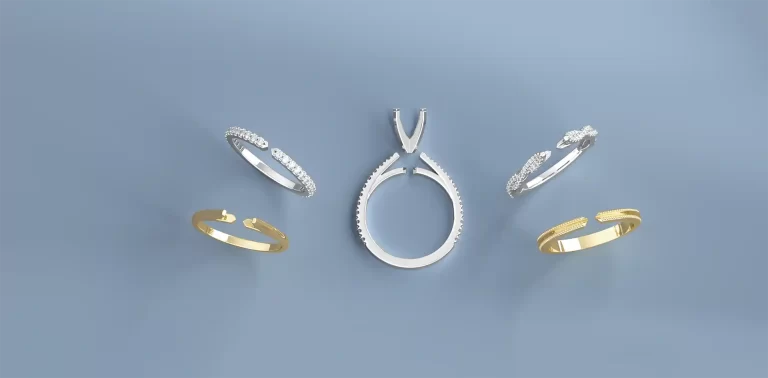
- Gemstone settings: If your design incorporates gemstones, use the CAD software’s tools to create settings that securely hold the stones in place. Pay attention to measurements and ensure the setting aligns perfectly with the gemstone(s) you plan to use.
- Engravings and textures: Employ the software’s capabilities to add engravings or textures to specific areas of your design, creating depth and adding a touch of personalization (screenshot).
- Fine-tuning proportions: Use the CAD software’s measurement and scaling tools to adjust proportions and ensure that the final piece achieves the desired size and balance.
Creating a Realistic Render
Let’s create a realistic render using CAD software to visualize your jewelry design in all its glory before bringing it to life.
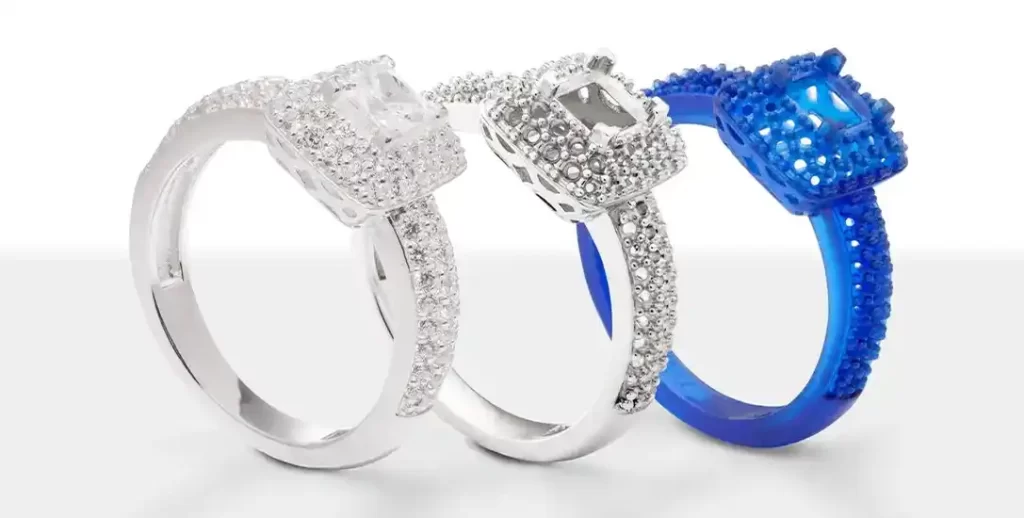
- Configure rendering settings: Explore the software’s rendering options and adjust settings such as lighting, materials, and reflections to achieve a lifelike representation of your design.
- Apply materials and textures: Utilize the software’s material library or import custom textures to assign the appropriate materials and finishes to different components of your jewelry design. This will help you envision the final piece’s appearance (screenshot).
- Render the image: Initiate the rendering process and allow the software to generate a high-quality image that showcases your design from various angles. This will give you a visual representation of your jewelry piece’s potential allure.
Preparing for 3D Printing
Now that you have visualized your design through the power of CAD, it’s time to prepare the file for 3D printing, which will transform your digital design into a physical prototype:
- Check for printability: Before proceeding, ensure your design is suitable for 3D printing. Verify that there are no intersecting geometries, thin or delicate features that may be challenging to print, or any other issues that may affect the final result.
- Export the file: Using the CAD software’s export functionality, save your jewelry design as a suitable file format for 3D printing, such as STL or OBJ. Ensure the exported file retains all the necessary details and is ready for the next production stage.
- Send to the 3D printer: Transfer the exported file to your 3D printer or share it with a professional 3D printing service. Consult the printer’s user manual or follow the service’s guidelines to ensure proper printing settings and materials are selected.
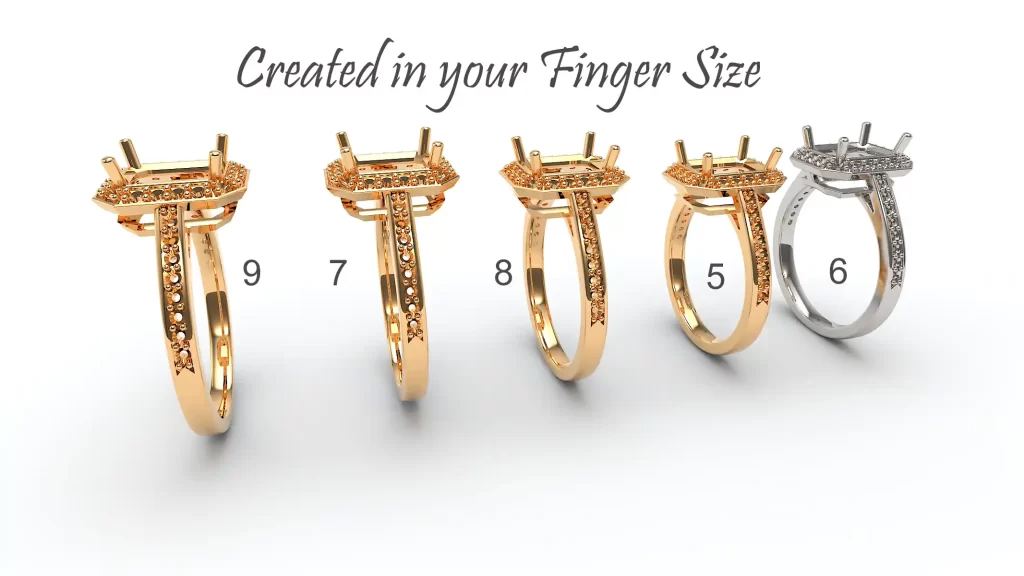
Importance of Sizing and 3D Printing in Ring Making
- Precise Fit:
- By creating a digital model of the ring using CAD software, jewelers can accurately determine the ring size.
- A well-fitting ring ensures comfort for the wearer and minimizes the risk of slipping off or feeling too tight.
- Structural Integrity:
- Designing the ring digitally allows for meticulous planning of prongs, settings, and other components.
- Properly sized prongs securely hold gemstones, reducing the chances of stones becoming loose over time.
- Customization:
- CAD software enables customization. You can adjust bandwidth, thickness, and overall design to match the wearer’s preferences.
- CAD allows flexibility, whether in an elegant solitaire or an intricate design.
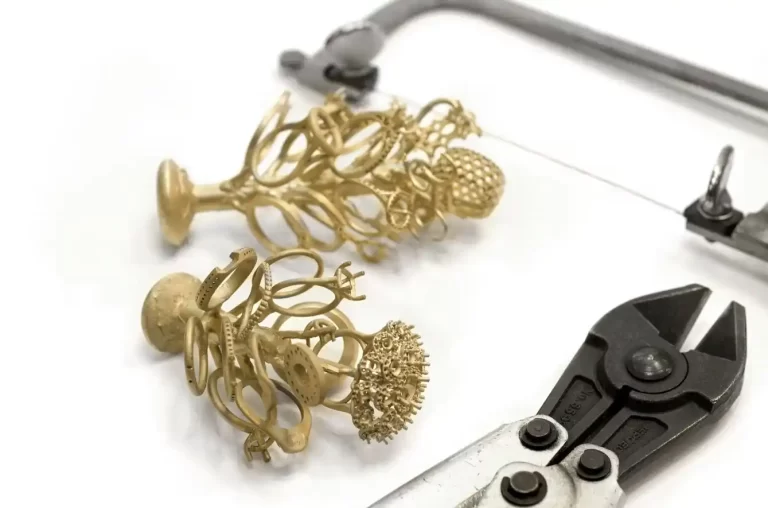
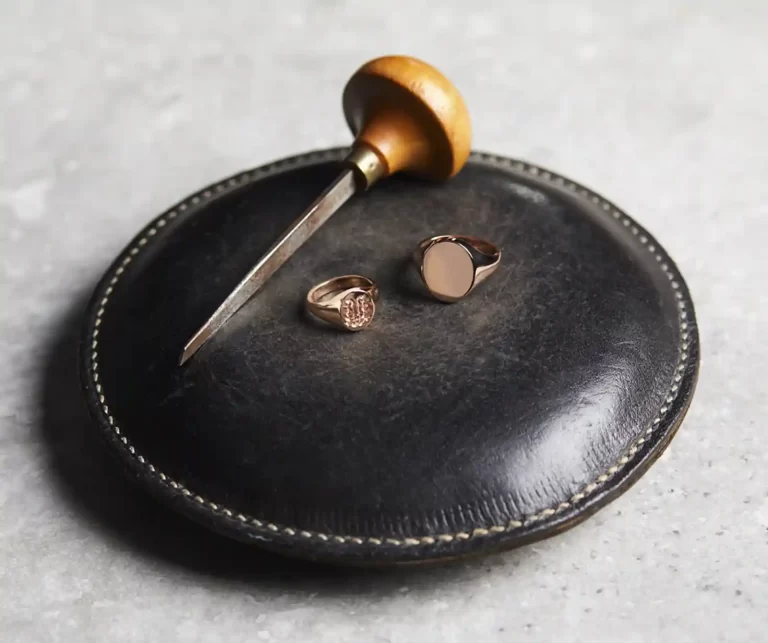
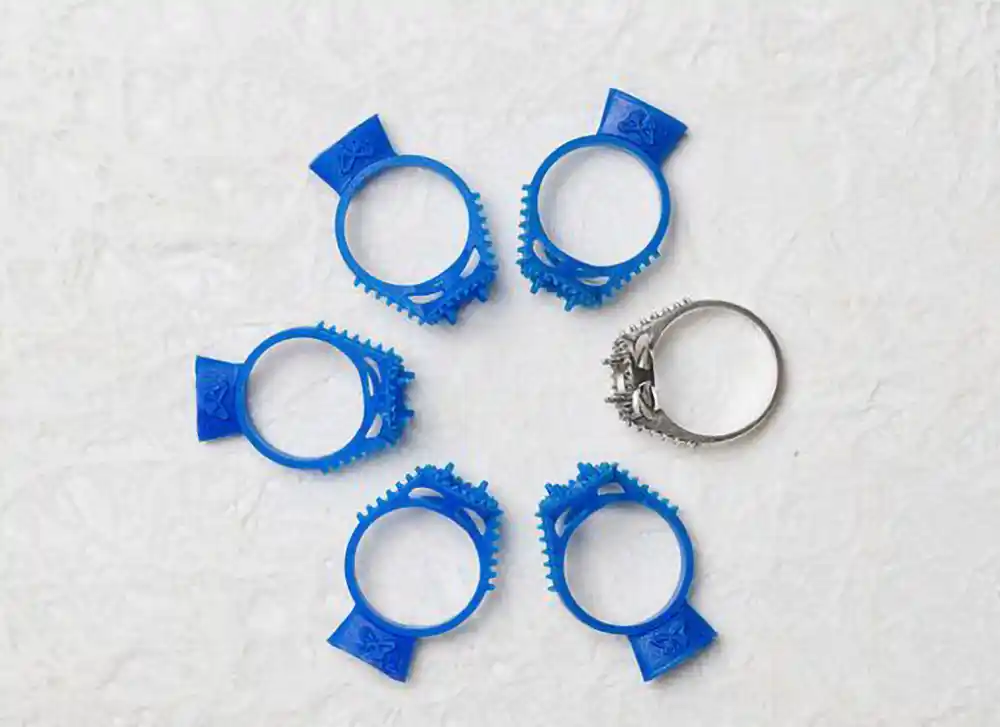
- Prototyping with 3D Printing:
- Once the digital model is ready, 3D printing comes into play.
- Jewelers create a physical prototype (often in wax) using the CAD design.
- This prototype helps visualize the final product and allows for adjustments before casting in precious metal.
- Casting Process:
- After refining the 3D-printed prototype, it serves as the master model for casting.
- The molten gold is poured into a mold created from the prototype.
- The result is a gold ring that closely matches the digital design.
- Stone Setting Precision:
- With accurate sizing, gemstone settings align perfectly with the band.
- Prongs, bezels, or channels are positioned precisely to hold stones securely.
- Reducing Waste:
- CAD and 3D printing minimize material wastage.
- Jewelers can optimize the design, ensuring efficient use of gold.
- Quality Assurance:
- Before casting, jewelers inspect the 3D-printed model thoroughly.
- Any imperfections or design flaws can be rectified at this stage.
Congratulations on taking your jewelry design from concept to a tangible prototype using the power of CAD and 3D printing! Following these steps, you have unlocked a world of possibilities where your imagination can transform into exquisite wearable art. Embrace the limitless potential of jewelry design and explore new horizons in creativity. Remember, this is just the beginning of your jewelry-making journey, and with each design, you’ll refine your skills and craft even more breathtaking pieces. Happy designing!